A Step-by-Step Guide to Electrical Troubleshooting for Beginners
When your electrical system goes haywire, you’re thrown into a panic. Finding electrical troubleshooting tips online works half the time. But half the time, it makes the problem worse.
Owning your own home comes with its own set of benefits. Making repairs yourself allows you to fix problems at a lower cost. But it would be best to learn the basics of electrical troubleshooting.
Do not worry! Learning how to troubleshoot electrical issues is easier than you think.
Keep reading to learn a simple electrical troubleshooting process to equip yourself better to fix a faulty home.
Turn Off the Power
This ensures your safety and prevents any further damage to the electrical system. Begin by locating the main circuit breaker or fuse box and switching all circuits off. It is also recommended to unplug any appliances or devices that affect the troubleshooting.
Remember never to touch any wires or circuits while the power is on. After turning off the power, you can proceed with troubleshooting.
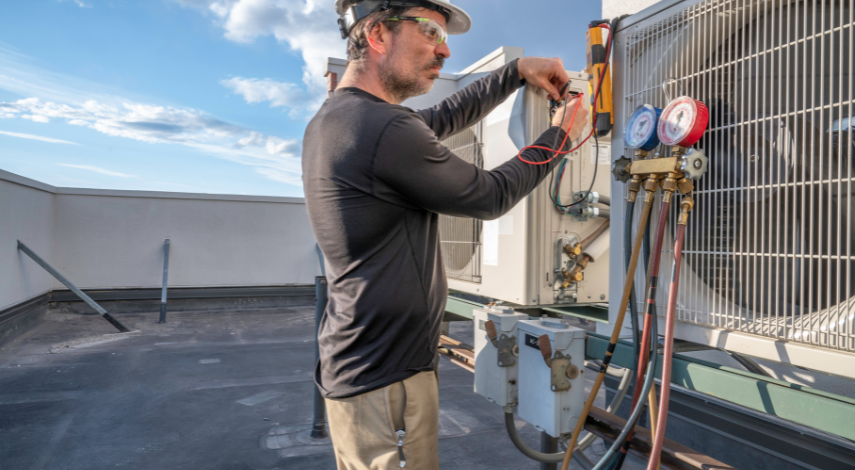
Use Safety Gear
This is especially important for beginners needing more experience working with electricity. Before attempting any troubleshooting, gathering and wearing the necessary safety gear is essential.
This includes safety glasses, insulated gloves, and non-conductive footwear. These items will protect you from potential hazards like electric shock and burns. Always notice safety gear, as it is the first step in any electrical troubleshooting process.
Identify the Issue
This involves observing and analyzing the problem at hand. Attention to any strange noises, sparks, flickering lights, or smells from electrical devices.
It needs to check all related equipment to ensure they are not causing the problem. If everything appears to be in good condition, move on to checking the circuit breaker or fuse box. By taking these initial steps, beginners can narrow down the root cause of the issue and take the necessary steps toward finding a solution.
Inspect for Damage
Inspecting for damage is a crucial step in electrical troubleshooting for beginners. Before you start troubleshooting, check the electrical components and wiring. Look for signs of wear, like frayed wires, burnt or discolored areas, blown fuses, or loose connections.
Look for any exposed wires or melted insulation, which can be fire hazards. Address any signs of damage immediately to prevent further issues and ensure safety.
And if you ever need expert help with electrical services, check these electrical services for a trusted and professional solution to your electrical needs.
Repair or Replace Faulty Components
Fixing a broken part might be as easy as tightening connections or changing a broken wire. Still, if you can’t change the part, you must get a new one.
You need to think out this process because it could affect how well the system works and what it can do. To ensure the repair works and lasts, it’s best to compare the costs and benefits of fixing the part versus removing it.
Knowing Electrical Troubleshooting Steps
Electrical troubleshooting can seem daunting, but beginners can feel confident in identifying and solving common issues with this step-by-step guide. Remember always to focus on your safety and follow each step.
If issues persist, don’t hesitate to seek professional help. Don’t let electrical problems keep you in the dark; try troubleshooting today!
To see more great articles like this one, keep browsing our website!
Andrew Barry, a seasoned expert in product reviews, brings a keen eye and insightful analysis to the world of consumer goods. With a passion for evaluating and recommending the best products, he navigates the market to help consumers make informed decisions.
Recommended For You

Spread the loveWelcome to an exclusive insider’s look at the meteoric rise of Lerner and Rowe – a powerhouse in

Spread the loveInvesting in property abroad is an exciting venture that offers numerous benefits, from financial gains to lifestyle improvements.

Spread the loveWelcome to SGS Krav Maga – your premier destination for self-defense training in Mortdale, NSW, Australia. Our center


